This article is for WebinarJam.
Testing a live WebinarJam event involves checking the registration process, the live room features, and your audio and video connections.
Two types of testing are recommended: a soft test and a cloned live test.
Run A Test
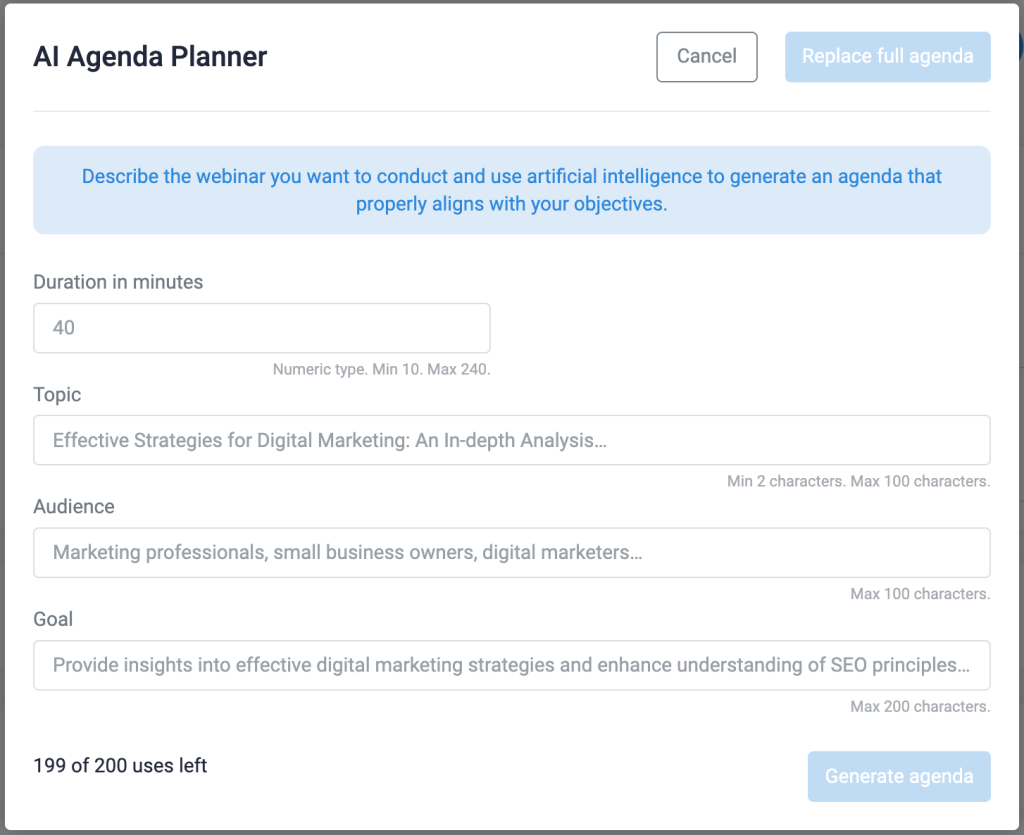
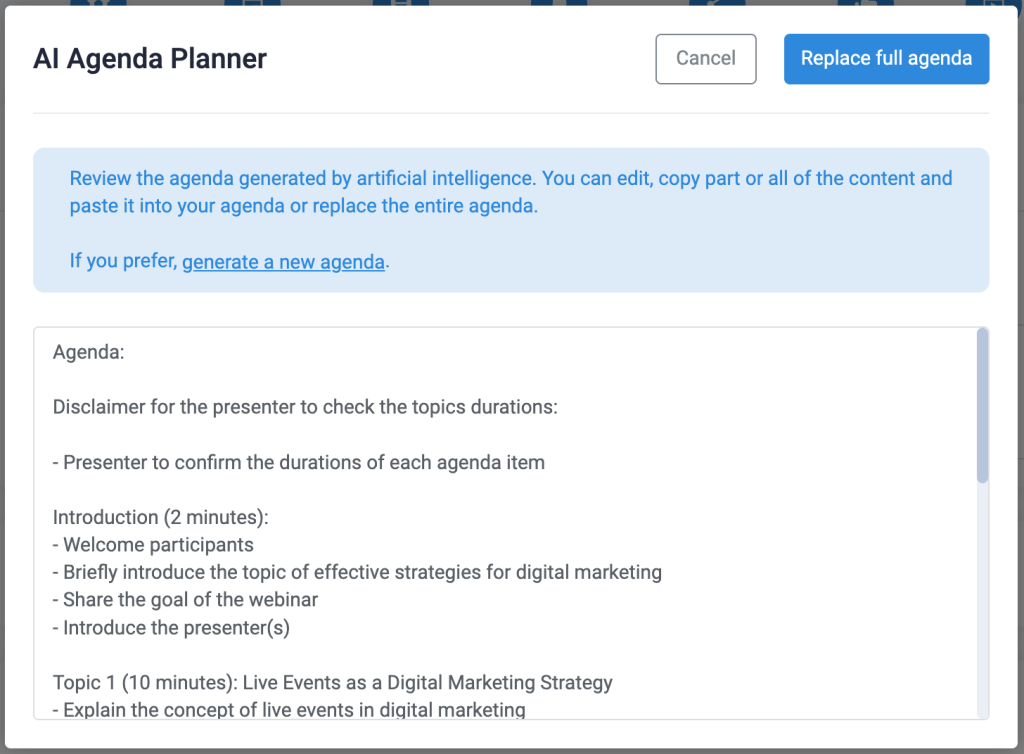
The Run a test tool lets you perform a soft test of your webinar configuration to make sure the setup is complete and presenters can access and understand the broadcast room.

- In Webinars, click Run a test
- Use the attendee or presenter links to launch the live room
- Presenters will be prompted to check their audio and video settings
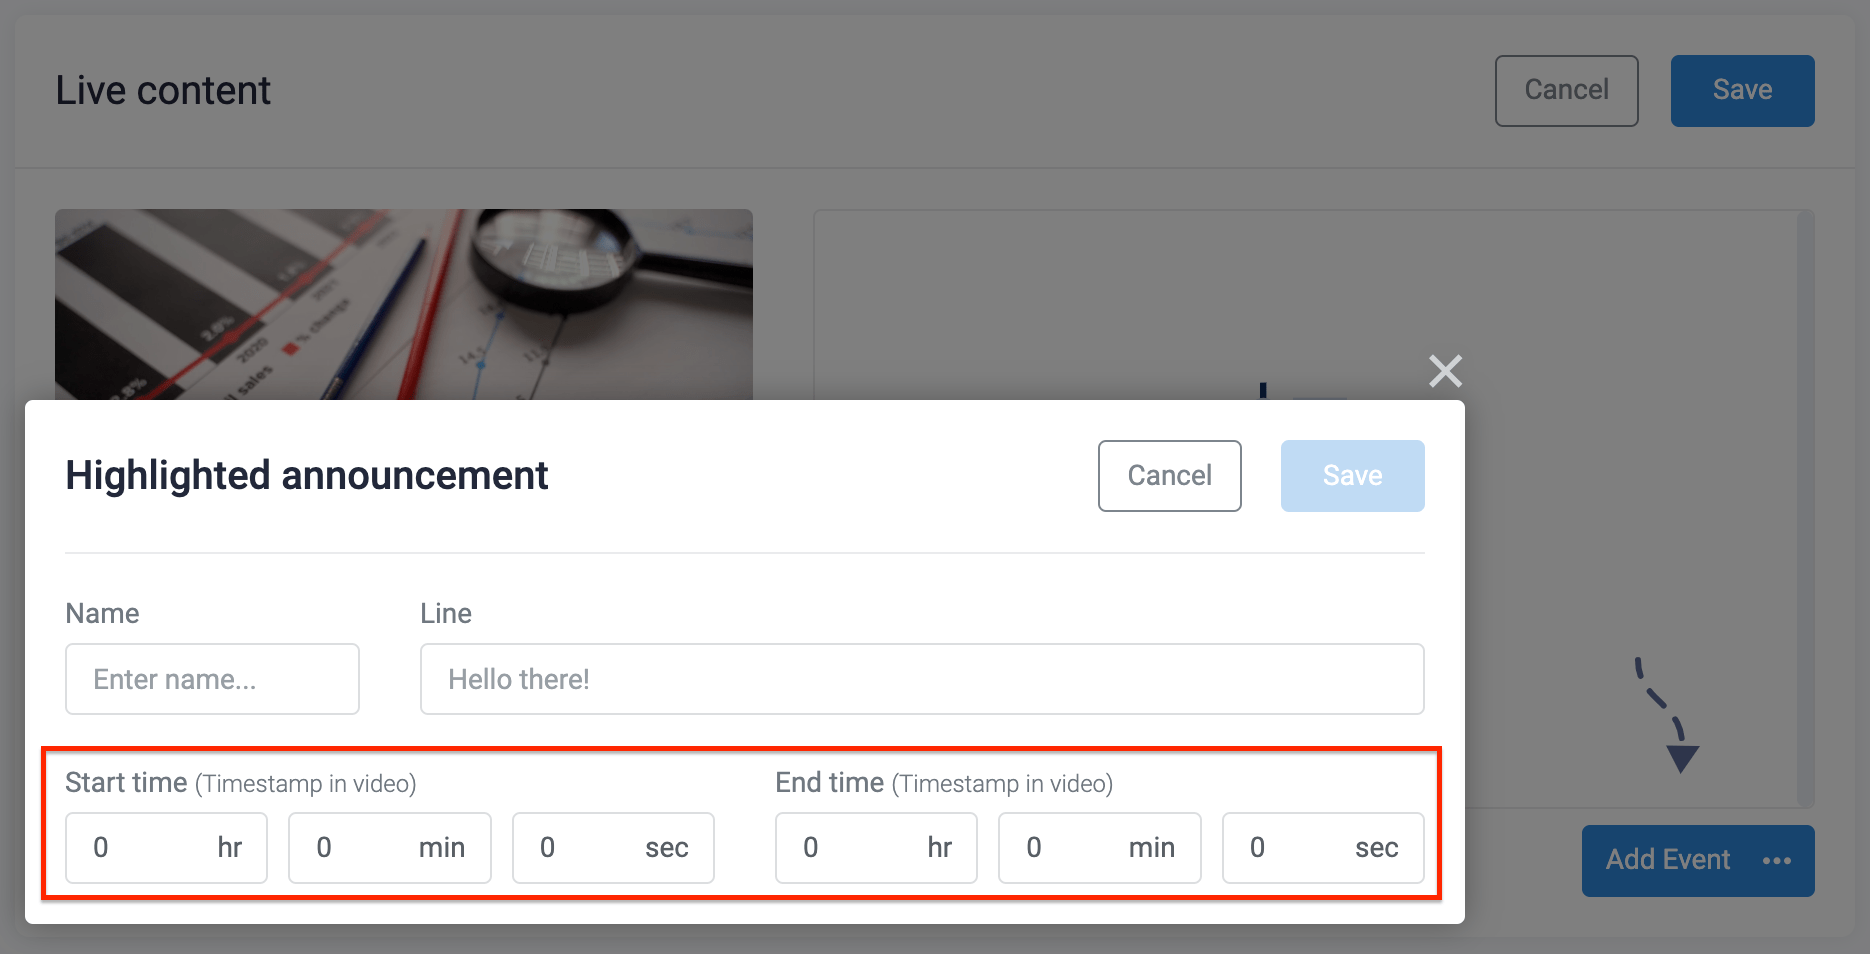
- In the live room, check all settings you intend to use:
- Go live to start a test broadcast
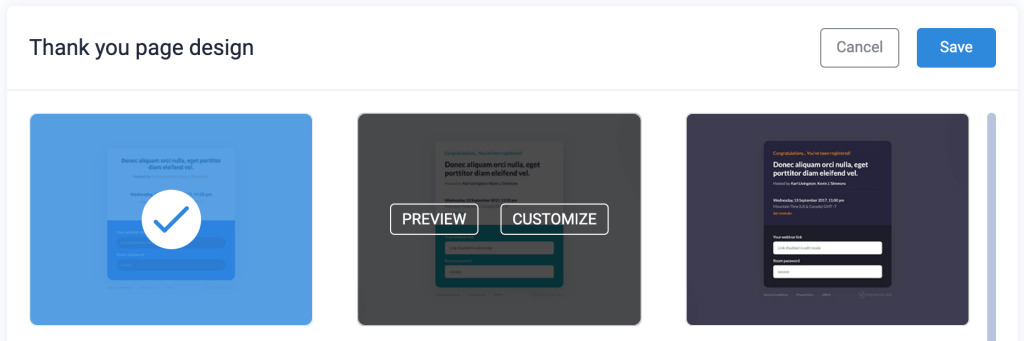
- Room settings and customization
- Changing presenter permissions
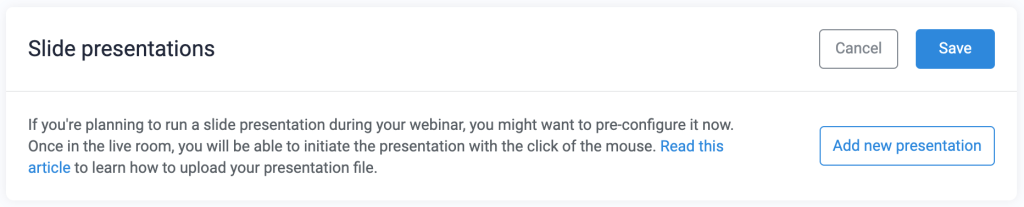
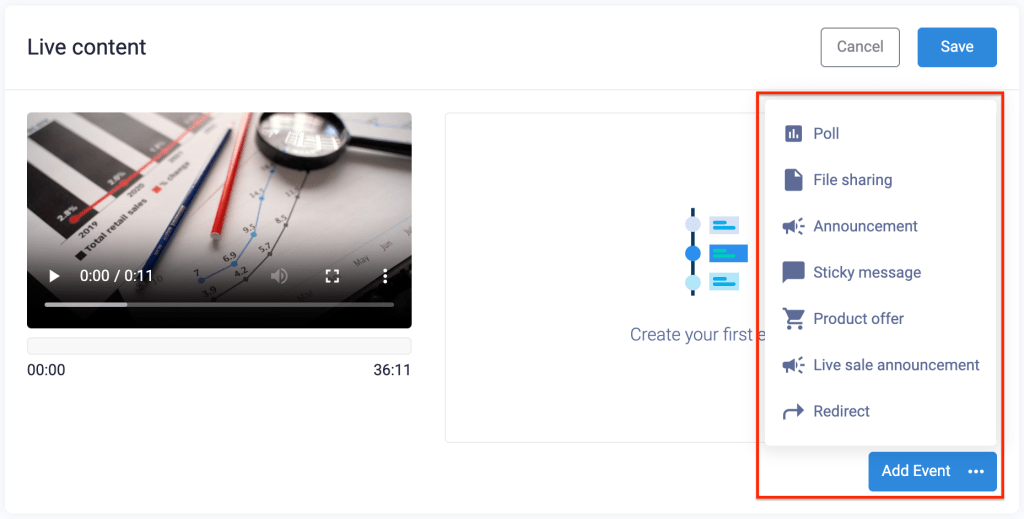
- Injections like polls or product offers
- Screenshare and whiteboard
Browse the live room to see all the menu options and settings available.
No data is saved from a test webinar. Complete a cloned test to test the chat history, poll results, attendee analytics, or replay playback.
If the soft test was successful and any necessary changes for the webinar configuration are complete, move on to a cloned test to check the full webinar experience.
Clone the Webinar
Cloning the webinar lets you run a live test of the exact event you intend to run for a live audience, with adjustments for the immediate access needed for your test.
- In Webinars, Clone your event
- Go to the clone and click Your Links to get presenter or attendee links for the live test

Test Registration and Emails
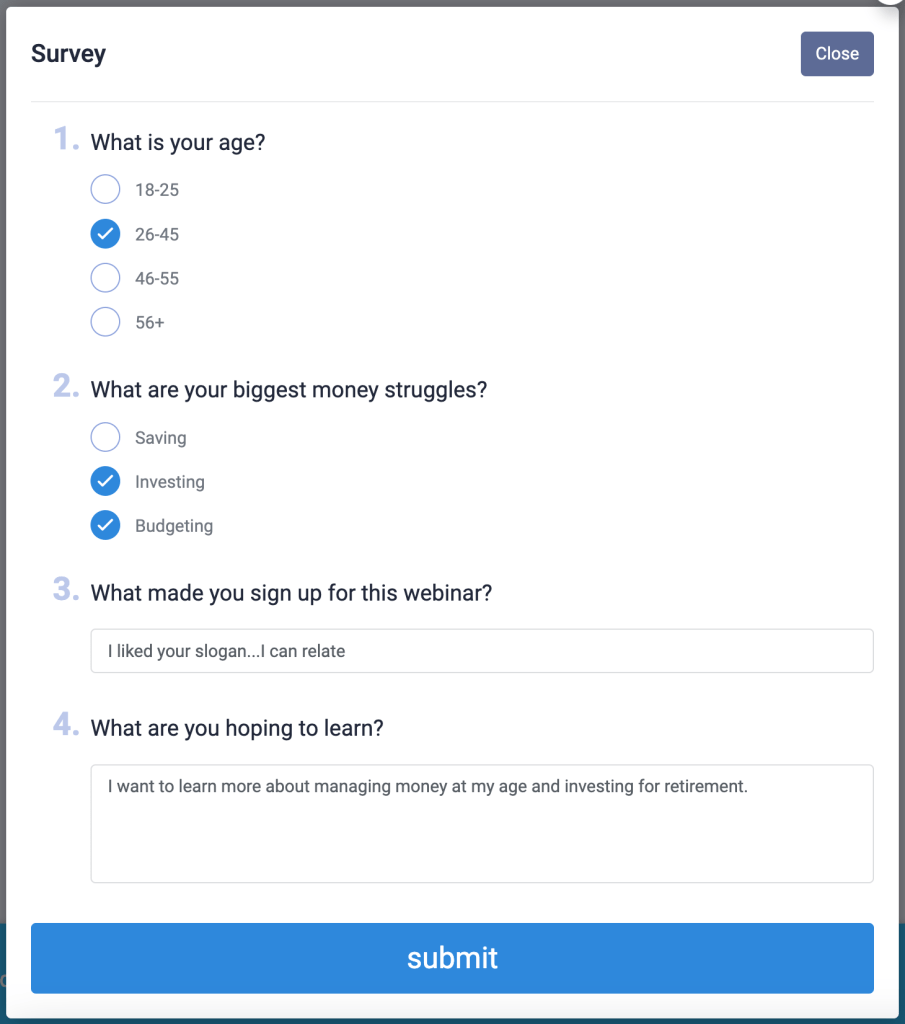
Check the registration page, confirmation page, survey (if configured), and notification emails.
- Use the attendee registration link for your event to go to the registration page
- Find the registration link in Your Links > Attendees
- Review the format and messaging on the page
- Register for the event using a valid email address
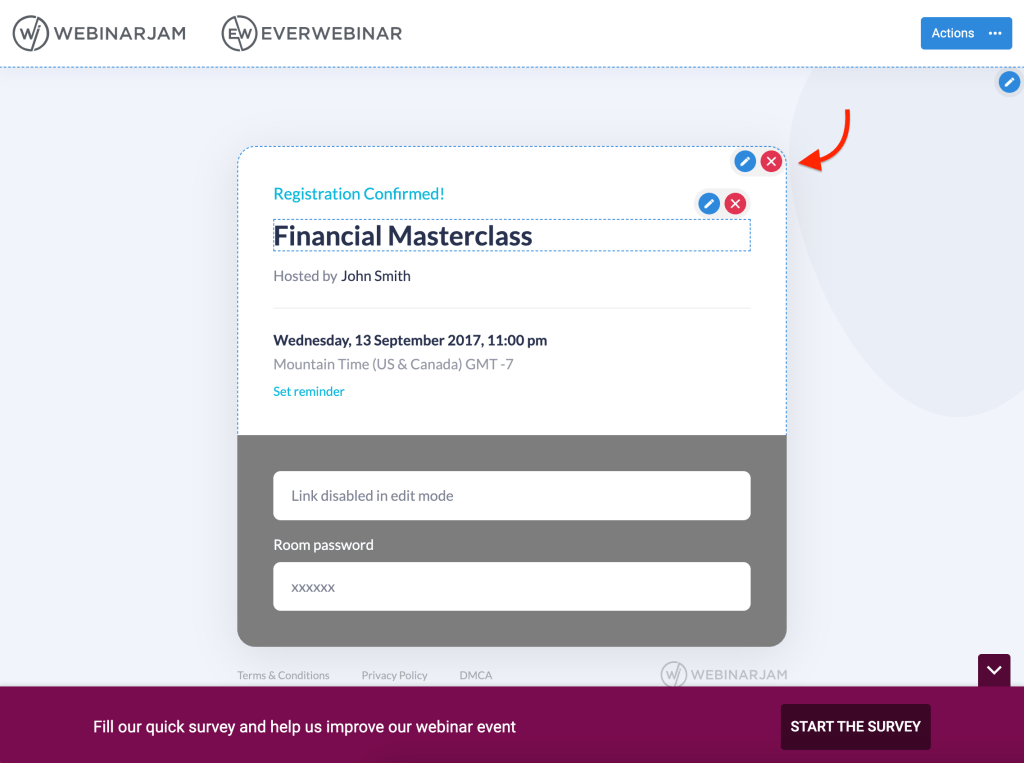
- You will be automatically redirected to the confirmation page
- Review the format and messaging on the page
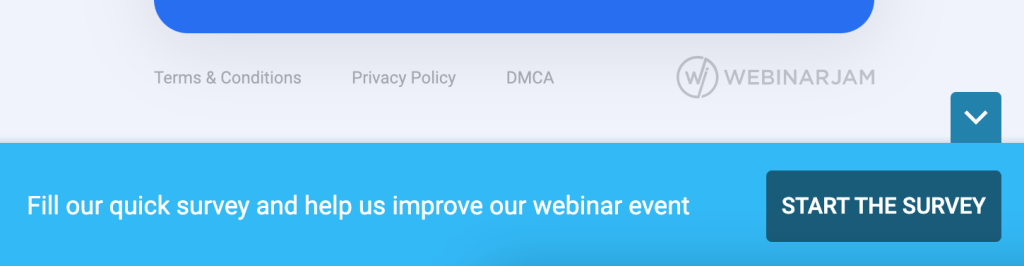
- If a survey is configured, open it and submit a test
- Check your email to see the pre-webinar confirmation email with your unique webinar access link
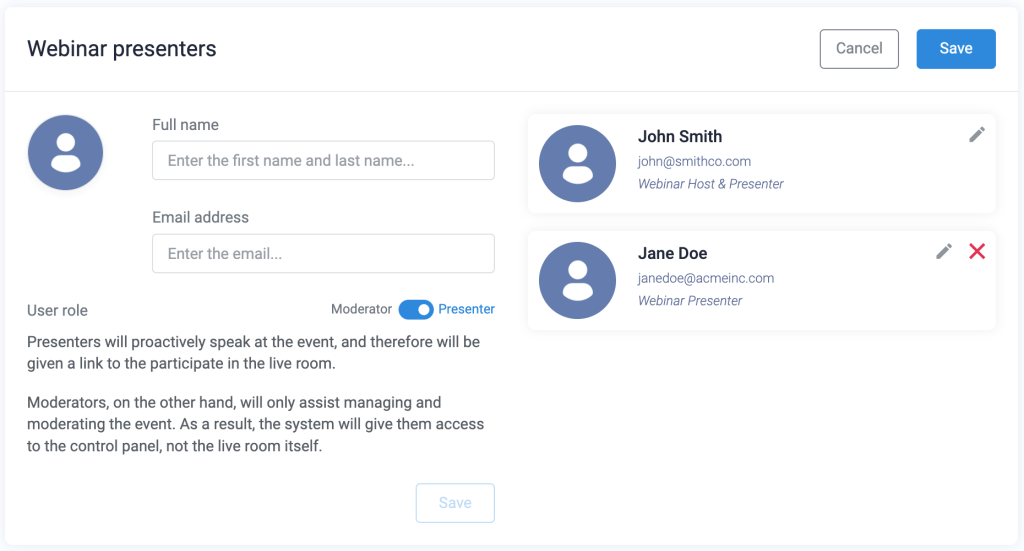
Test as Presenter
Log in to the webinar room and test the video playback, messaging, configured injections, and any other controls.
- Use your unique presenter link to launch the live room and complete the audio and video check
- In the room, click Go Live to start the broadcast
- Test all settings and controls in the room (refer to the Run a test checklist for tips)
- Recommended: Interact with another person in the room as an attendee to test chat and Q&A interactions
- Deploy each configured injection for attendee interaction (polls, offers, etc.)
- Test the panic button
If you are using the Control Panel as a moderator, use the unique moderator link to access the Control Panel during the live test.
Test as Attendee
Log in to the webinar room and test chat, broadcast playback, and injection engagement as an attendee. If you do not have another person to collaborate on the test, you can be both the presenter and attendee yourself.
Enter the room as an attendee from a completely separate browser or private window to make sure each role has a unique access session.
- When the webinar is scheduled to begin, use the access link in the confirmation email to go to the countdown page
- Enter the room and click to start watching the broadcast
- Enter messages in the chat to test the live chat and Q&A
- Interact with all injections to see them from an attendee perspective
- If an offer is configured, test the complete purchase process.
Test Replay
If a replay is enabled for the webinar, test the post-webinar follow-up email and the direct access link to the replay room.
- Check your email for the post-webinar email containing a link to the replay (if enabled)
- Enter messages in the chat to test the question box (if enabled)
Testing Tips
Every function of your webinar should be tested before you launch it to your prospects. This article covers many scenarios, but it is recommended that you create your own custom testing checklist to ensure that every aspect of the setup works exactly as designed.
For example:
- If you have Zapier automation configured for your webinar, test every trigger event for your Zaps.
- If you are using a custom SMTP or autoresponder and automation rules, test all related scenarios to ensure your automation rules fire correctly and email notifications contain the correct information.
- If you are using one-click registration, test the sign-up flow by registering through an email sent from your auto-responder.
- If a product offer is configured to appear in the webinar, test the purchase flow and successful sales goal tracking
- Check the event analytics after your test to see how your activity as an attendee was recorded
The ultimate goal of testing is to make sure that everyone engaging with your content has an excellent experience. Put on your customer glasses and take a close look at every detail!