WebinarJam and EverWebinar User Documentation Webinars for everyone!

Introduction to live injections

This article is for WebinarJam and EverWebinar.

Live injections let you pre-load content for a webinar that can be quickly launched and managed during the live broadcast.

The live options are different depending on whether your configuration is for WebinarJam (true live) or an automated EverWebinar (simulated live).

In both webinar models, live injections are found at the Live step of the webinar configuration.

Webinar wizard steps


WebinarJam injections

Live injections for WebinarJam are launched manually by presenters inside the Live Room. Learn more about the live room interface.

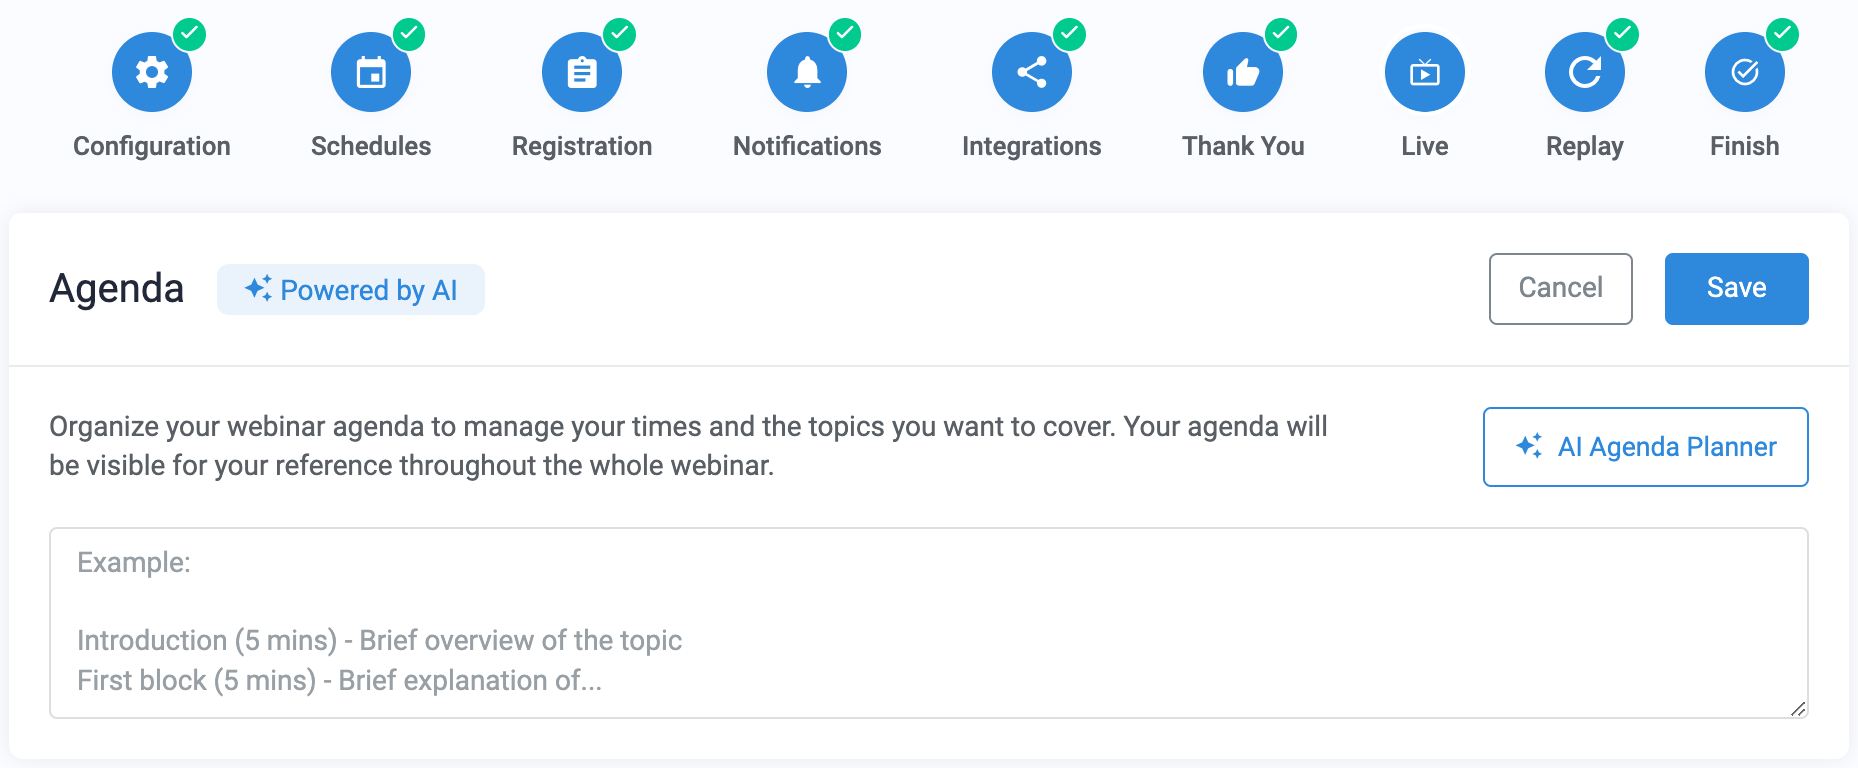
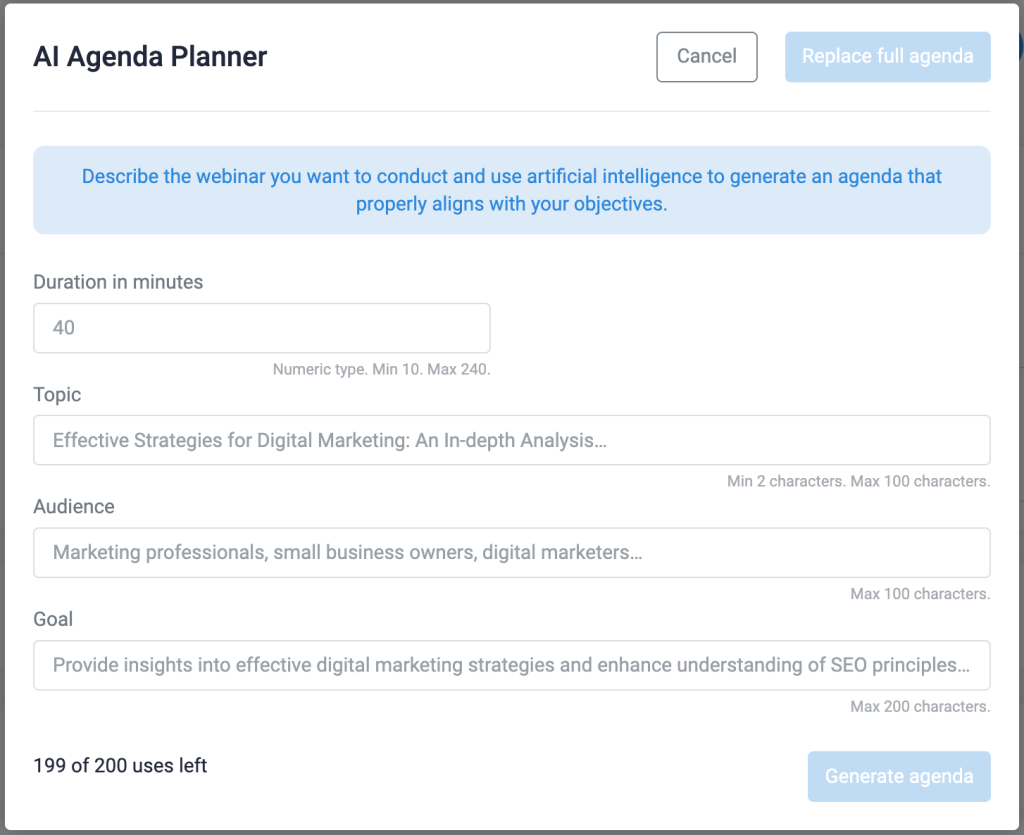
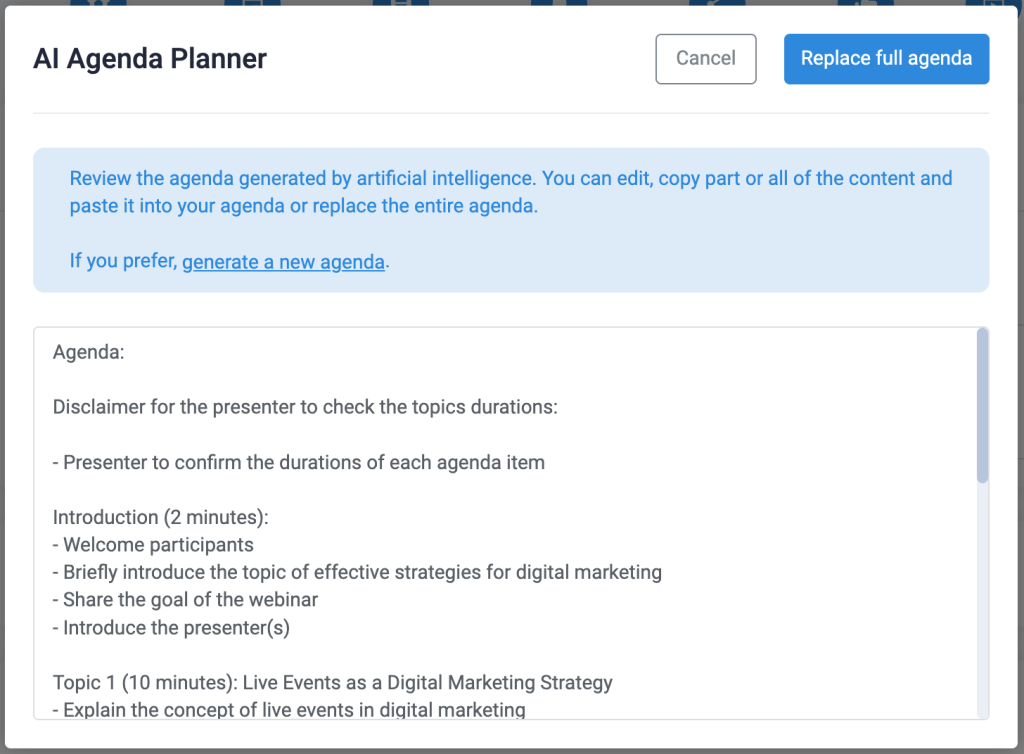
Agenda: Add a prewritten or AI-assisted outline for the webinar

Polls and quizzes: Encourage engagement and feedback from the webinar audience

Product offers: Promote products and services inside the live room

Video injections: Plug and play video segments to enhance the presentation

File handouts: Share downloadable handouts and other files with attendees

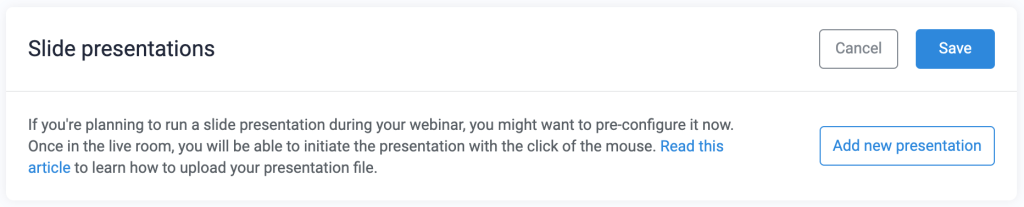
Slide presentations: Preload a slide deck to share from the WebinarJam server instead of your local bandwidth


EverWebinar injections

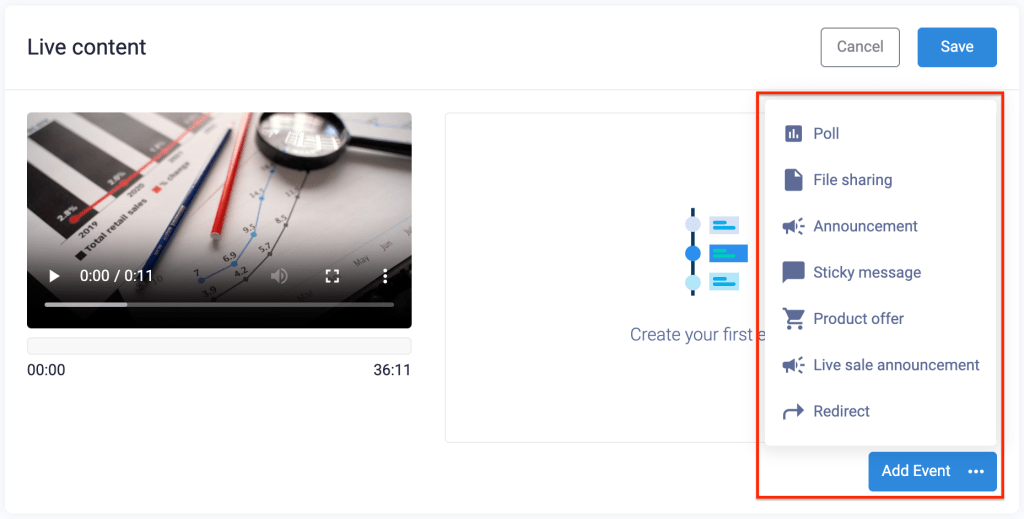
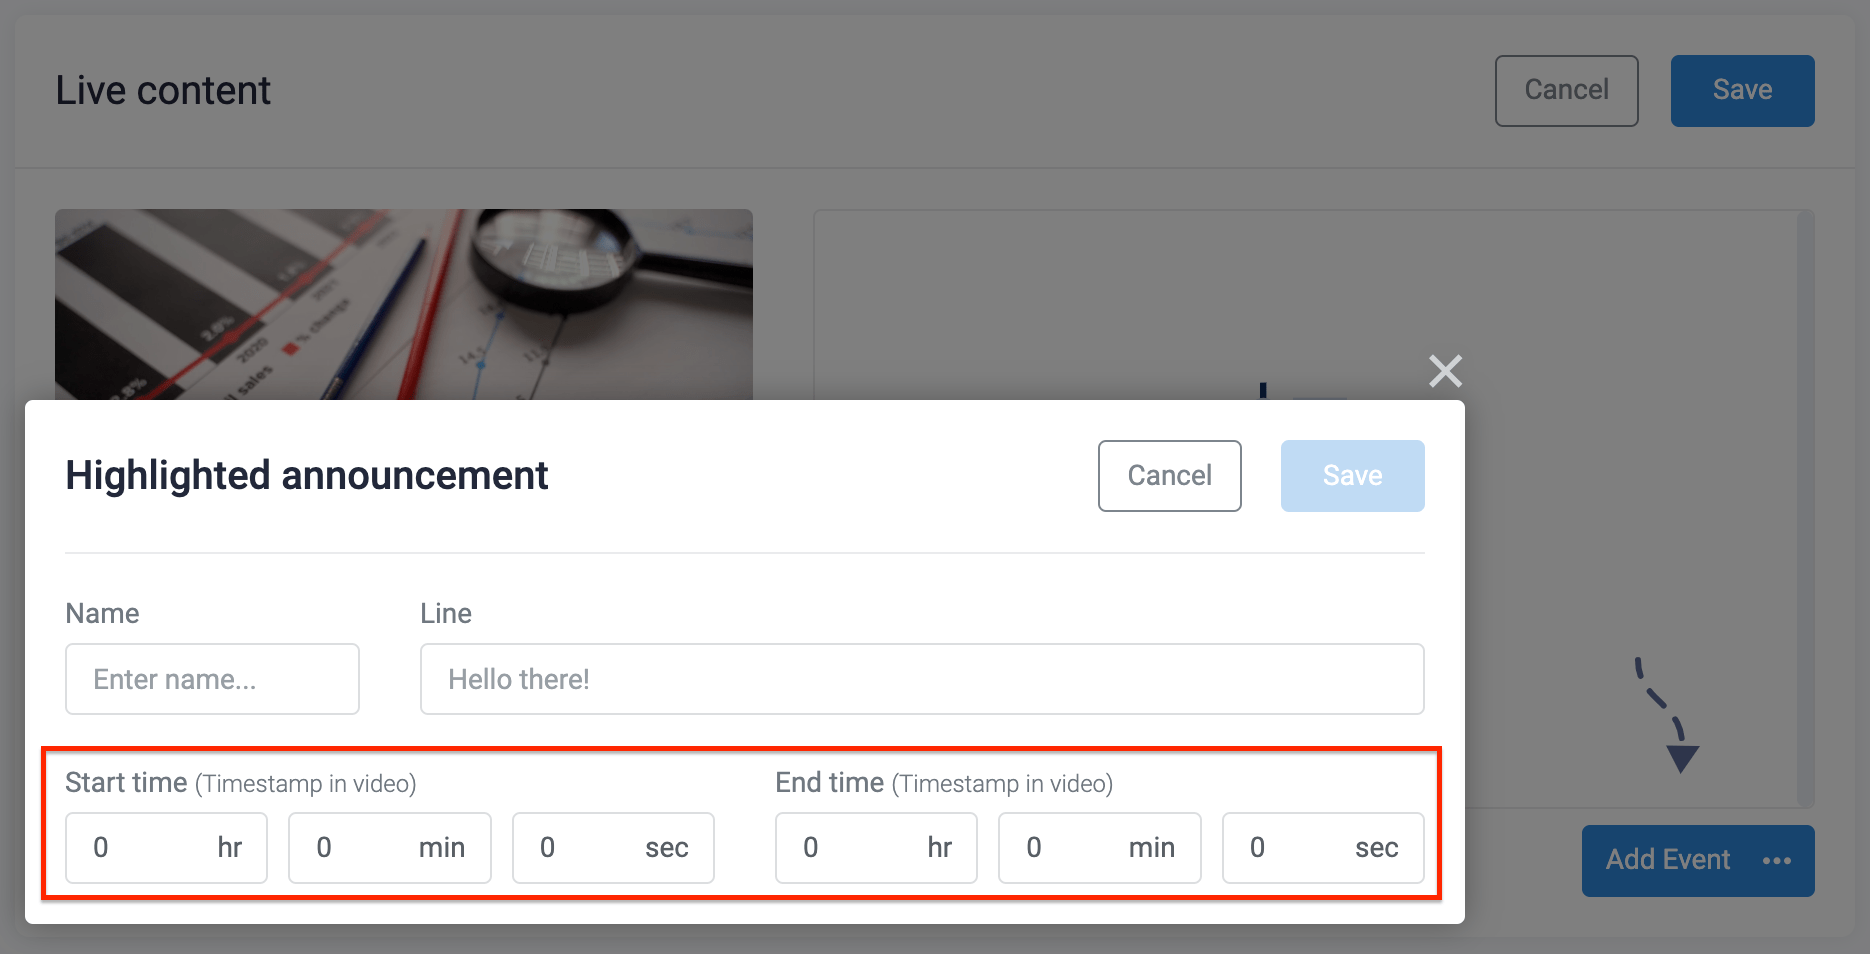
Live injections for EverWebinar are scheduled in the webinar setup to automatically launch at a specific time during the event. At the Live step of the configuration wizard, open the Live content module to add scheduled injections.

Scheduled injections are configured to appear and disappear at specific times during the event.

Schedule live content in EverWebinar
Example of the scheduling options for an EverWebinar live injection

Poll: Create and schedule a poll to appear.

File sharing: Upload files and schedule them to be shared in the webinar room.

Announcements: Schedule chat announcements.

Sticky message: Schedule sticky chat messages.

Product offer: Schedule product offers to appear.

Live sale announcement: Schedule announcements that tell the room a sale was made (to simulate live purchase engagement).

Redirect: Send all attendees from the webinar room to a specified URL.

Live chat: Add or upload chat messages with timestamps to simulate live chat activity for attendees.

Display number of attendees: Display the actual or a simulated attendee count for the live room where viewers can see it.


Learn more about the Live Room

Live: Slide Presentations

This article is for WebinarJam only.

Add a slide presentation to your webinar during the configuration process. During the live broadcast, the presentation is available in the live room menu to broadcast to your attendees with the click of a button.


Upload a slide presentation

Upload a slide presentation

Upload a presentation from your local computer:

  1. In the webinar setup, go to Live > Slide presentations
  2. Click Add new presentation
  3. Enter a display name for the file
  4. Click Upload the file to locate and add the presentation file
    • Accepted file formats: Microsoft PowerPoint (PPT, PPTX), Apple KeyNote (KEY), and PDF.

Important: Google Slide links or other cloud-based presentations cannot be added.

Uploading and encoding for your presentation can take up to 5 minutes to complete.


Benefits of uploading a presentation

You can use the screen share function to present the slides from your local the computer. However, uploading the presentation to the WebinarJam cloud server is recommended for two reasons:

  • Pre-loaded presentations are delivered by the WebinarJam servers instead of your local internet service. As a result, the image quality on pre-loaded slides is generally better, resulting in a smoother experience for your attendees.
  • Presentations uploaded to the live room can be shown using custom animations and transitions.

Optimize presentation files

Smaller files load faster and more reliably for attendees so everyone can see your content smoothly, regardless of their internet connection speed.

The maximum file size for an uploaded presentation is 80MB. If your file is over 80MB, the resolution of the images inside the slides may be too high, or there may be media injections (such as video) that should be removed.

Optimization and troubleshooting tips:

  • Always save images and slides at a maximum resolution of 720p to optimize them for live-streaming
  • Split the presentation in two if it’s too large to upload
  • If you have trouble uploading a PowerPoint or Keynote file:
    • Look for video or audio media in the presentation that can be removed
    • Export the presentation to a PDF with each slide on a separate page. Optimize the PDF to create a smaller file.

Learn more about using slide presentations in the Live Room

Live: Video Injections

This article is for WebinarJam.

Add video injections into a webinar to cut seamlessly from the presenters speaking to pre-recorded video playback. This is useful for inserting short video clips or to create a “hybrid” webinar experience.

Hybrid webinars combine a pre-recorded presentation with a live segment such as a custom introduction or a Q&A session at the end.

Go to the Live step of the webinar configuration:

  1. Open Video injections and click Add new video
  2. Add a name for your reference (you will see this in the live room)
  3. Add the video source URL
  4. Save the video injection window and click Confirm to continue the webinar setup

Saved video injections are available to deploy inside the live webinar room.

Note: Compatible video sources are hosted MP4 files, YouTube, or Vimeo. Hosts like Wistia or Dropbox that do not provide an MP4 file link will not work for this function.

Learn more

Live: Product Offers

This article is for WebinarJam and EverWebinar.

Inject product offers into your webinars and convert attendees to customers. To configure the offer, go to the Live step of the webinar configuration.


WebinarJam > Live

  1. Open Product offers and click Add new offer
  2. Add the details of your offer. The right-side panel shows a preview.

    Configure the product offer

  3. Toggle ON any advanced options you wish to use:
    • Broadcast sales in real time
    • Apply scarcity in your offer
    • Apply urgency in your offer

Advanced Options

Encourage attendees to purchase during the webinar by limiting inventory or sharing sales activity with the webinar room.

  • Broadcast sales in real-time displays, “Name has just purchased,” each time a sale is completed.
  • Apply scarcity displays the number of available units in the offer panel.
    • Scarcity is updated automatically during a single webinar session if sales goal tracking is configured.
    • In the live room panel, presenters can click to reduce the inventory number manually as sales are made.
  • Apply urgency displays a countdown timer.
    • The timer begins when the offer is first displayed and expires according to your configuration.

EverWebinar > Live

Configure live content for EverWebinar

  1. Open Live content and click Add event > Product offer
  2. Add the details of your offer. The right-side panel shows a preview.
  3. Add a Start and End time for the automatic offer
  4. Toggle Apply urgency ON to display a countdown timer

Live: Polls and Quizzes

This article is for WebinarJam and EverWebinar.

Add polls or quizzes to a webinar to survey your attendees and prompt engagement with your presentation. To configure a poll, go to the Live step of the webinar configuration.

WebinarJam > Live

  1. Open Polls and quizzes and click Add new poll
  2. Add the poll question
  3. Add answer options
    • Click Add another option at the bottom of the window to add more than two possible answers.
  4. Save the poll or quiz window and click Confirm to continue the webinar setup

Polls are deployed and new polls are added inside the live webinar room.


EverWebinar > Live

Important: Polls in EverWebinar are interactive for attendees to simulate the experience of a live event, but the results are fully preconfigured. No additional poll statistics are generated from attendee interaction in an EverWebinar event.

Configure live content for EverWebinar

  1. Open Live content and click Add event > Poll
  2. Click to toggle Make the results public at the end of the poll (Optional)
    • If ON, add simulated poll results by entering a percentage after each answer choice. Attendees will see the preconfigured results after submitting an answer during the webinar.
  3. Add the question and answer options
    • Click Add Another Option to add additional answer choices.
  4. Add a Start and End time for the automatic poll
  5. Save the poll event and the Live content module to continue the webinar setup

Live: Agenda

This article is for WebinarJam only.

Keep your presentation organized and delivered on time with an agenda. Add a pre-written outline to the agenda module or use the AI Agenda Planner to generated one with AI. The agenda is visible to view and edit during the live event.

In the webinar configuration wizard, go to Live > Agenda

Webinar agenda module

To create an AI-generated agenda:

  1. Click AI Agenda Planner to launch the AI creation tool
    • Add details about your webinar to the planner, defining the duration, topic, audience, and goal. Be specific! The AI uses the content in these fields as prompts to create your agenda, so add as much detail as you can.

      Agenda Planner window

  2. Click Generate agenda
    • Wait for the AI to process your agenda and then it’s ready to review and edit! You will receive an outline broken down into sections that include an introduction, main points, a Q&A, and a conclusion, each with a suggested duration to fill the total time of your event.

      AI Agenda Planner results window

  3. Click Replace full agenda to save the content and close the AI Agenda Planner
    • Note: This will overwrite any content already saved in the Agenda module of the setup wizard
    • To start over with new prompts, click generate a new agenda in the tooltip instead
  4. Save the Agenda module and complete the webinar setup wizard

Pro Tips

  • AI Agenda Planner will generate an agenda in the language selected under Configuration > Basic settings in the setup wizard.
  • Check the time estimates in the agenda and adjust them as needed to make sure they match the amount of time you want to spend on each section and overall.
  • Your agenda will appear in the Live Room and in the Control Panel of your webinar and is visible to all presenters and moderators.
  • Add notes or edit the agenda during the event to adjust your plan.
  • If you don’t want to use the AI Agenda Planner, you can manually add an agenda or outline instead. Copy and paste the contents of your agenda into the text field in the Agenda module and save to add it to your webinar resources.

AI Best Practices

To get the best results out of any AI tool, keep a few things in mind:

  • Be specific about the topic you want the AI to address. This keeps the topic focused and helps prevent vague results. Instead of a generic prompt like, “Talk about personal coaching,” be specific. For example, “Explain three ways that personal coaching benefits small business owners” or “Provide tips for optimizing paid ad campaigns.”
  • Avoid entering private or personal details into an AI tool that you wouldn’t post publicly online. All AI engines “learn” from the queries they receive, which means that your entries may be stored by the tool.
  • AI content can be wrong. Always review and fact-check the content generated by an AI tool, especially when the facts are critical to your presentation or field of knowledge.


© 2024 WebinarJam All Rights Reserved