Live Room
This article is for WebinarJam.
Launch the Live Room
Use your unique presenter link to access the live room.
Last-minute Checklist
Follow the last-minute checklist to make sure you are ready for a successful webinar:
- Free up resources: Close all computer functions with a high resource load, such as applications and browser tabs.
- Wear headphones: Minimize audio feedback between your speakers and your microphone to make sure your attendees can hear you.
- Dedicate your internet connection: Make sure your internet connection is committed to your webinar. Another person streaming media or video games on the same connection can reduce the quality of your broadcast.
- Avoid distractions: Mute your phone, turn off notifications on your computer, and close your door!
Test Your Video and Audio
You will be prompted to start an audio and video test to check your settings. You can turn your camera and microphone ON or OFF at any time in the webinar room.
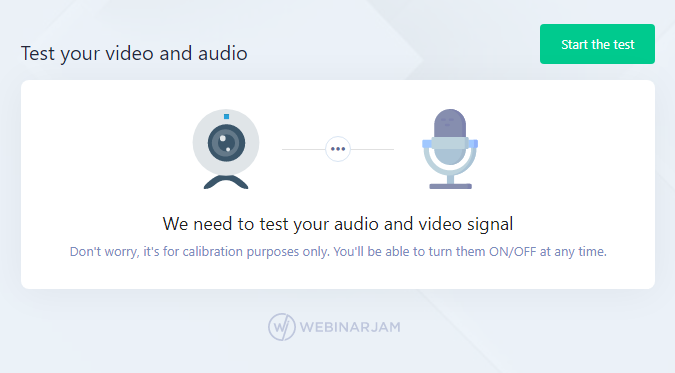
Click Start The Test to begin.
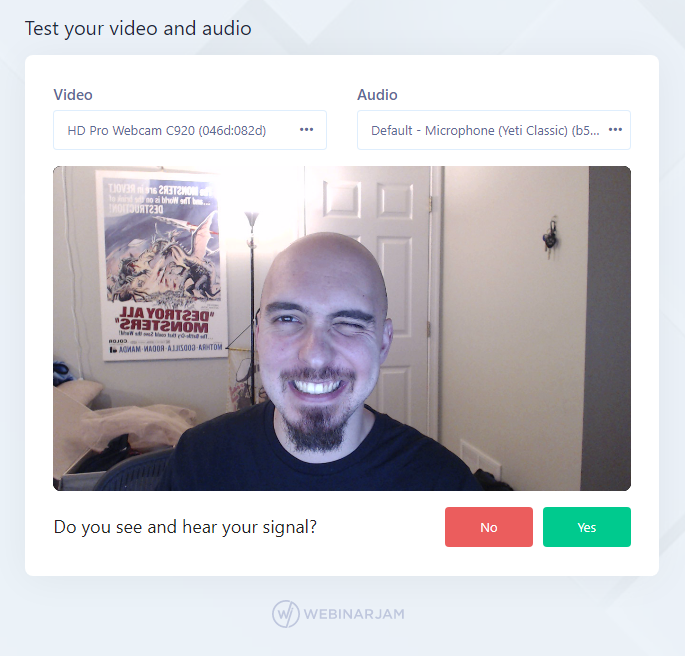
WebinarJam will auto-detect your camera and microphone. Use the drop-down menus to change the device selection if needed.
- If the video feed shows your webcam and you can hear sound, click yes to confirm that everything is working.
- If you do not see or hear yourself, click no and the system will attempt the test again again.
If the test is not working, click the camera icon in your browser’s address bar. The drop-down menu will show you whether the camera and microphone are blocked in your browser, or if the wrong camera or microphone is being used.
If you do not hear any sound, check the volume control on your computer and headset.
Reload the page if you change any of these settings.
In the Live Room
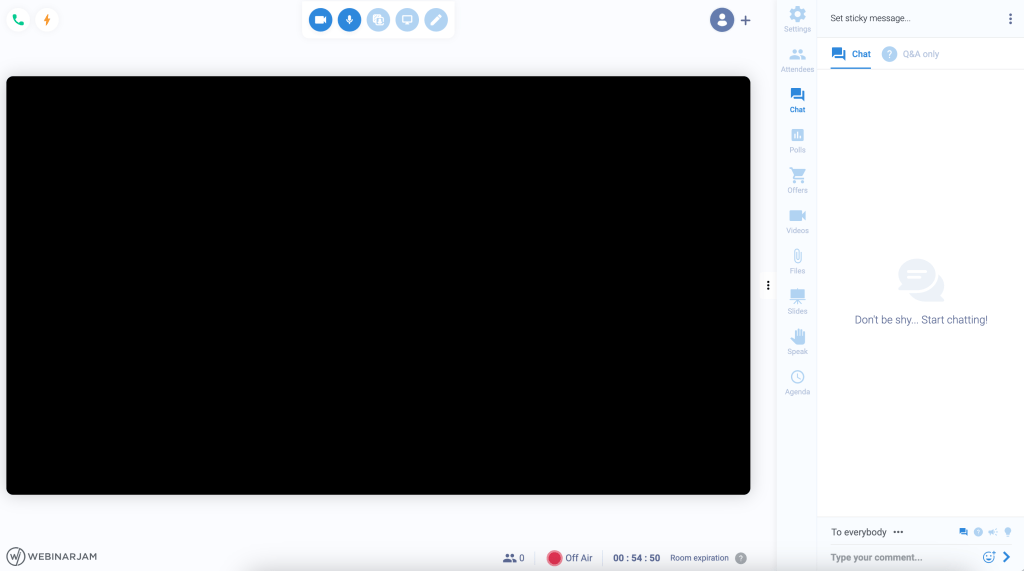
When you enter the room, your camera and microphone are ON by default. The options to turn these OFF are at the top of the page next to the screensharing feature, and whiteboard tool.

The live room is offline when launched. This lets you test and set up the room before going live.
The “Off Air” indicator at the bottom of the live room shows that the broadcast has not started. The light turns green when the live broadcast begins.

Presenter Video Feed
The live room generates a unique panel for each presenter that shows their video feed or profile image, their name, and individual audio and video controls (lower left corner of the panel).
In the upper left of the presenter feed is a star icon indicating the presenter’s permissions. Hover over each presenter’s feed to see it.
- Dark blue star: Webinar host (all access admin)
- Light blue star: Co-presenters (access to speak, chat, and use live injections)
If you are an administrator, click the light blue star to promote a co-presenter to an administrator.
- Learn more about permissions in the live room
In the bottom left of the presenter feed are video, audio, and screen share buttons for each presenter.
Go Live and Panic Button
Click the Go Live button in the top left corner to start the webinar broadcast.
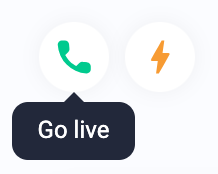
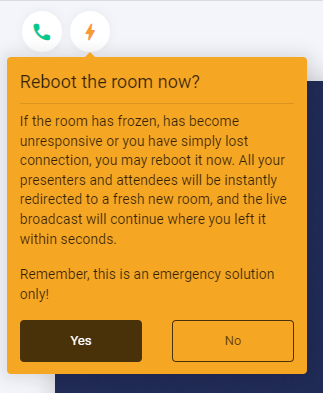
If the live broadcast stops working, click the lightning bolt icon (Panic Button) to reboot the room in an emergency.
Additional Presenters
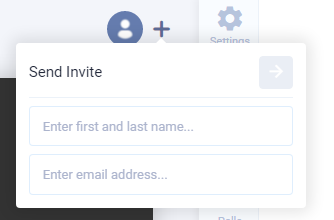
At the top of the window, invite additional presenters by clicking the plus icon and entering their name and email. The presenter will be emailed a unique link to enter the webinar (your link will not work for them).
Minimize Sidebar
Minimize the sidebar by clicking the three dots tab on the side of the panel.
Room Expiration
A 60-minute timer appears in the lower portion of the frame showing how long the room will stay active while you are Off Air. If you do not go live in one hour, the room will expire. Click the button on the expiration screen to immediately reload the room or visit the live room link again.

Customize the Live Room
Virtual Background & Blur
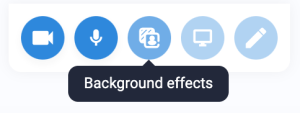
Change the background effect or image by clicking the center button in the menu at the top of the room.
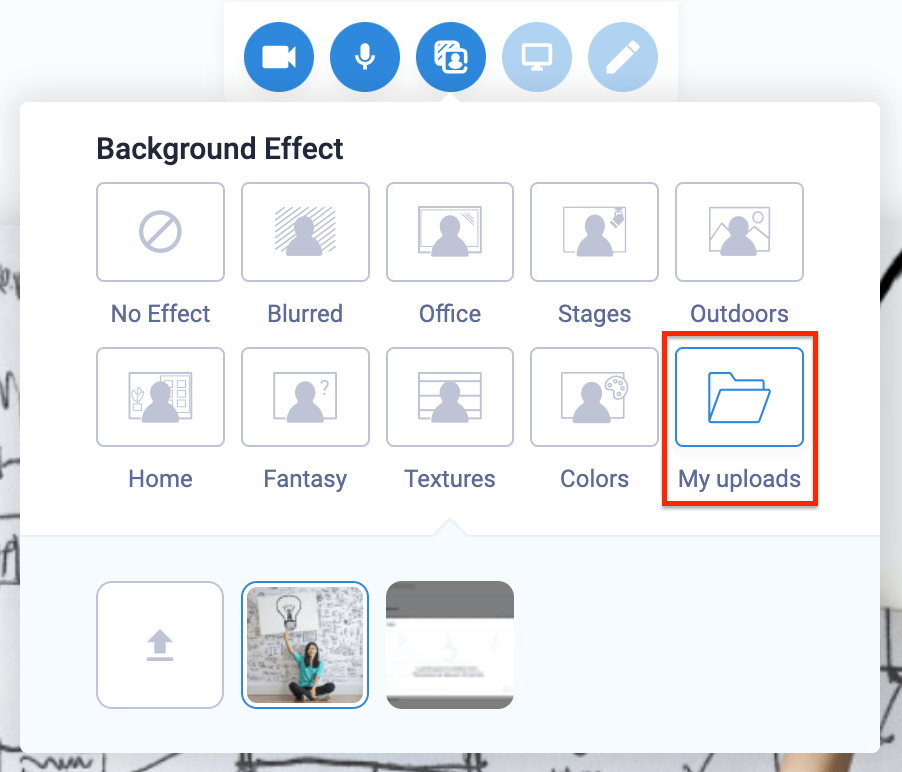
Select a preset or click My uploads to add a custom background. Background effects and images appear “behind” the presenter with a green screen effect.
Supported files: JPG, PNG, up to 4MB.
Live Room Settings
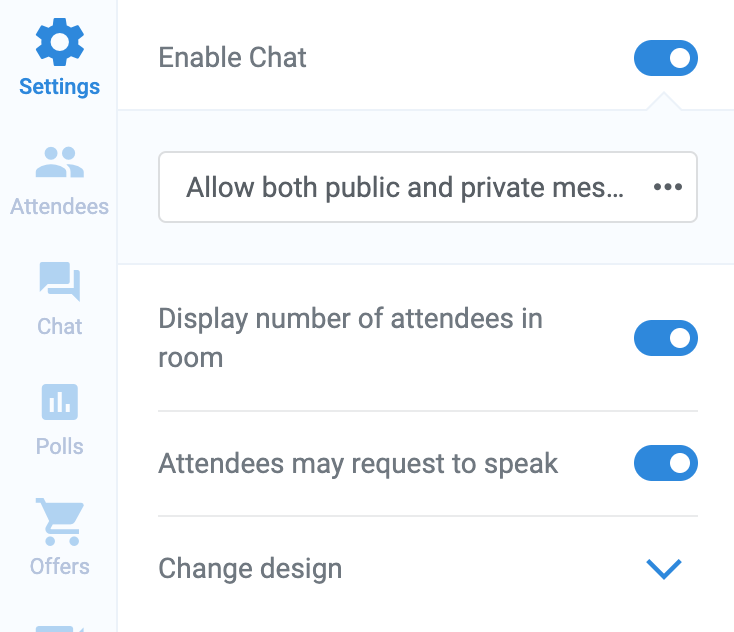
In the sidebar, configure the live room Settings.
- Disable or enable chat
- Allow public or private chat messaging or both
- Show or hide the number of attendees in the room (this appears for everyone, presenters AND attendees)
- Disable or enable the attendee Request to Speak feature
- Change the design of the live room
Manage the Room: Attendees & Chat
Attendee Redirect
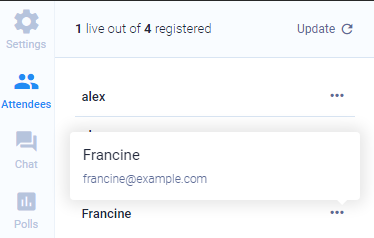
The Attendees tab in the sidebar displays a list of all attendees in the live room.
Redirect attendees to a URL of your choice by entering a web address in the URL field and clicking the arrow icon.
Attendees Speak
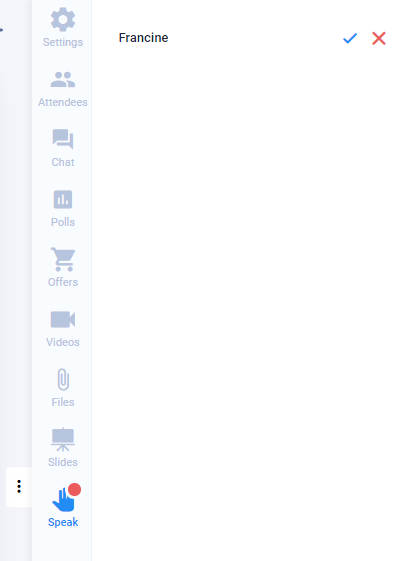
If you enable attendees’ ability to speak, you will find their requests in the bottom tab (shown below, labeled “Speak”) where you can accept or deny the request. If you accept, they will be brought in as presenters with video!
Chat
The chat tab contains the message feed from the webinar.
In the chat:
- Send messages to the public room and join the conversation
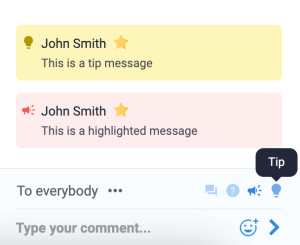
- Send highlighted messages (red in-line callout)
- Send tip messages (yellow in-line callout)
- Post sticky messages that remain on the screen
- Chat privately with administrators
- Chat privately with individual attendees
- Presenters are identified in the chat by a star next to their name
Change the chat mode into Q&A mode and attendee messages will be marked as questions while your messages will be Answers. You can change any message by clicking the bubble next to a message.
Manage the Room: Injections
Deploy and use the injections configured at the Live step of the webinar configuration wizard.
All presenters can access and use the live injections. Deploy pre-configured content to the live room or create new injections as needed during the live webinar.
Click the tabs in the sidebar to access each type:
- Polls
- Offers
- Video
- Slide Presentations
- Agenda and notes
Click Preview to save a new injection. Click Publish to deploy it to the webinar room.
Learn more about Live Injections
