This article is for WebinarJam only.
Add a slide presentation to your webinar during the configuration process. During the live broadcast, the presentation is available in the live room menu to broadcast to your attendees with the click of a button.
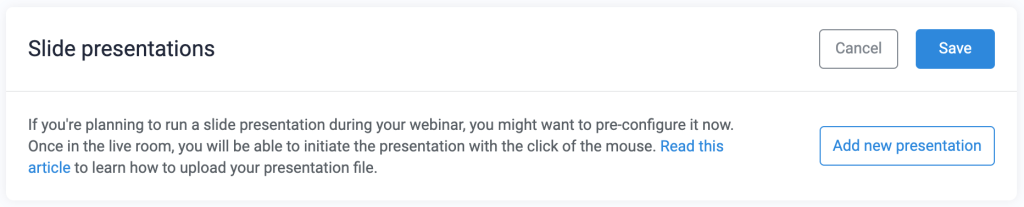
Upload a slide presentation
Upload a presentation from your local computer:
- In the webinar setup, go to Live > Slide presentations
- Click Add new presentation
- Enter a display name for the file
- Click Upload the file to locate and add the presentation file
- Accepted file formats: Microsoft PowerPoint (PPT, PPTX), Apple KeyNote (KEY), and PDF.
Important: Google Slide links or other cloud-based presentations cannot be added.
Uploading and encoding for your presentation can take up to 5 minutes to complete.
Benefits of uploading a presentation
You can use the screen share function to present the slides from your local the computer. However, uploading the presentation to the WebinarJam cloud server is recommended for two reasons:
- Pre-loaded presentations are delivered by the WebinarJam servers instead of your local internet service. As a result, the image quality on pre-loaded slides is generally better, resulting in a smoother experience for your attendees.
- Presentations uploaded to the live room can be shown using custom animations and transitions.
Optimize presentation files
Smaller files load faster and more reliably for attendees so everyone can see your content smoothly, regardless of their internet connection speed.
The maximum file size for an uploaded presentation is 80MB. If your file is over 80MB, the resolution of the images inside the slides may be too high, or there may be media injections (such as video) that should be removed.
Optimization and troubleshooting tips:
- Always save images and slides at a maximum resolution of 720p to optimize them for live-streaming
- Split the presentation in two if it’s too large to upload
- If you have trouble uploading a PowerPoint or Keynote file:
- Look for video or audio media in the presentation that can be removed
- Export the presentation to a PDF with each slide on a separate page. Optimize the PDF to create a smaller file.
Learn more about using slide presentations in the Live Room